Welcome to Coffee Maker Best, your trusted guide in the wonderful world of home brewing. Let’s be honest, that moment a barista hands you a latte with perfectly creamy, velvety milk is a small piece of magic. But what if I told you that magic is something you can create in your own kitchen? Learning how to froth milk with a coffee maker is the single biggest step you can take to elevate your daily coffee from a simple brew to a café-quality experience. It might seem intimidating with all the hissing steam and fancy metal pitchers, but I promise, with a little know-how and practice, you’ll be crafting beautiful cappuccinos and lattes in no time.
First, What Kind of Coffee Maker Are We Talking About?
This is the most crucial question. When we talk about frothing milk, we’re almost exclusively referring to an espresso machine equipped with a steam wand. That metal arm on the side of the machine isn’t just for show—it’s your gateway to silky microfoam.
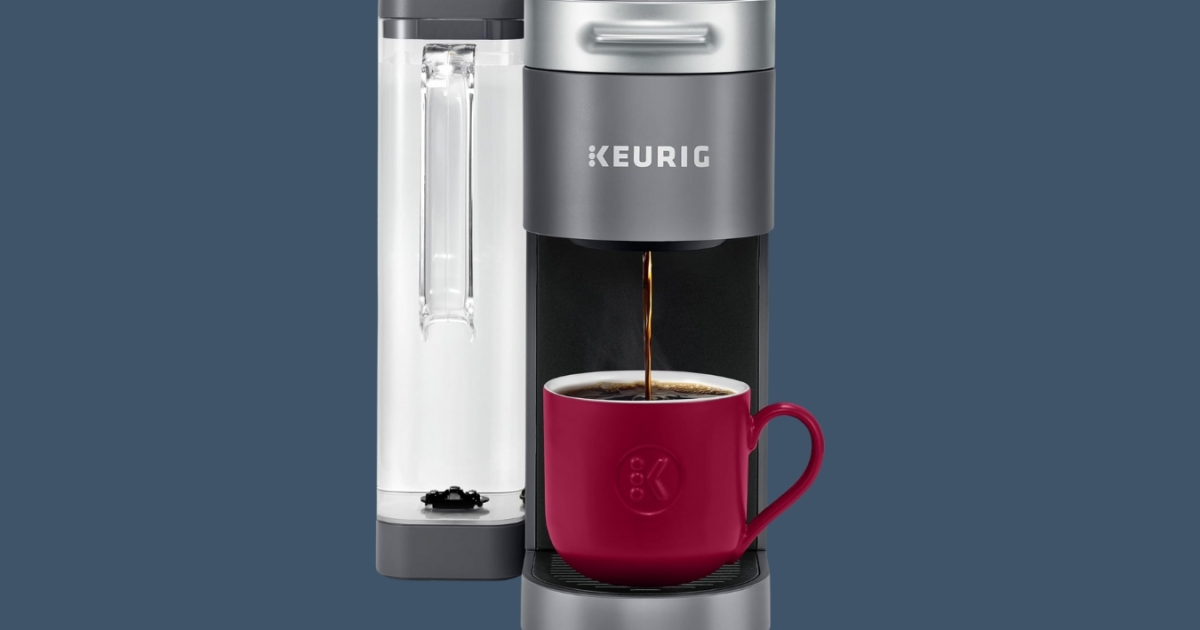
A standard drip coffee maker, French press, or pod machine (like a Keurig) does not have the capability to steam milk. These machines are designed to brew coffee using hot water, not to generate the high-pressure steam needed for frothing. If you own one of these, you’ll need a separate frothing tool, like a handheld frother or a dedicated electric milk frother.
But if you have an espresso machine, you’re in the right place. Let’s get you ready for frothing success.
Gearing Up: What You’ll Need
Before you even think about turning on that steam valve, let’s gather your tools. Having everything ready makes the process smooth and stress-free.
- An Espresso Machine with a Steam Wand: The star of our show.
- A Stainless Steel Milk Pitcher: Size matters. A 12 oz (350ml) pitcher is perfect for single drinks. It’s essential because the metal allows you to feel the temperature of the milk as it heats.
- Cold Milk: Seriously, cold. Straight from the fridge is non-negotiable.
- A Damp Cloth: Keep one handy exclusively for wiping down your steam wand.
Why Does the Milk Have to Be Cold?
This isn’t just a barista’s quirky rule; it’s science. Frothing milk is a race against time. You need to introduce air into the milk (stretching) and then blend that air into a uniform texture (texturing) before the milk gets too hot. Cold milk gives you a longer window to work your magic. Starting with warm milk means it will scald before you have a chance to create that beautiful, silky microfoam.
Choosing Your Milk: The Great Debate
The type of milk you use dramatically affects the final result.
- Whole Milk: This is the gold standard for a reason. The high-fat and protein content creates a rich, creamy, stable foam that’s a dream to work with and perfect for latte art. If you’re just starting, I highly recommend beginning with whole milk.
- Low-Fat or Skim Milk: These can create a lot of foam, but it’s often stiff and dry, like meringue, rather than silky and integrated. The flavor is also less rich.
- Alternative Milks (Oat, Almond, Soy): The game has changed in recent years! Many brands now offer “barista series” versions of these milks, which are specifically formulated with added stabilizers and proteins to froth beautifully.
- Oat Milk: My personal favorite alternative. It creates a creamy, dense foam that’s very similar to whole milk.
- Soy Milk: A classic choice that froths reliably, though the flavor is distinct.
- Almond Milk: Can be a bit trickier as it can separate when heated. Look for a barista blend for best results.
The Main Event: How to Froth Milk With Your Coffee Maker Step-by-Step
Alright, pitcher in hand, milk is cold, machine is on. Let’s do this. I’ll break it down into simple, manageable steps.
- Purge the Steam Wand: Before you put the wand anywhere near your milk, point it away from you (towards the drip tray) and open the steam valve for a couple of seconds. You’ll see some hot water spray out. This clears out any condensed water sitting in the wand, ensuring you’re only injecting pure, dry steam into your milk. Close the valve.
- Position the Wand: Pour your cold milk into the pitcher, filling it to just below where the spout begins. Now, submerge the tip of the steam wand into the milk, positioning it slightly off-center. The tip should be just below the surface—about half an inch or a centimeter.
- Phase 1: Stretching (Adding Air): This is where you create the volume. Turn the steam valve on fully. You should hear a gentle hissing or tearing sound, like paper ripping. This is the sound of air being pulled into the milk. Keep the tip of the wand near the surface. You’ll see the milk level start to rise. Only do this for a few seconds (3-5 seconds for a latte, 6-8 for a cappuccino). You’re aiming for about a 20-30% increase in volume.
- Phase 2: Texturing (Creating Microfoam): Once you’ve added enough air, submerge the wand deeper into the milk, about an inch below the surface. Tilt your pitcher slightly to create a gentle whirlpool or vortex. This is the crucial part. This motion breaks down the larger bubbles you just created and folds them into the milk, creating a uniform, silky, and glossy texture. The hissing sound should now be gone, replaced by a quiet hum.
- Monitor the Temperature: Keep one hand on the side of the pitcher. This is your thermometer. When the pitcher becomes too hot to comfortably keep your hand on it for more than a second, you’re done. This is typically around 140-150°F (60-65°C). Turn the steam valve off before you remove the wand from the milk.
A Word of Caution from a Pro: Never, ever heat your milk past 160°F (70°C). Overheating doesn’t just ruin the texture; it scalds the milk proteins, giving it a burnt, unpleasant taste. Trust your hand—it’s a surprisingly accurate guide.
- Wipe and Purge Immediately: Take that damp cloth and thoroughly wipe down the steam wand to remove any milk residue. Immediately. If milk dries on the wand, it’s a pain to clean and can become a hygiene issue. After wiping, point the wand towards the drip tray and give it one more quick purge to clear any milk that might have been sucked inside.
- Polish Your Milk: You’re almost there! Tap the bottom of the pitcher firmly on the counter a couple of times to pop any large, visible bubbles. Then, gently swirl the milk in the pitcher. This polishes the milk, integrating the foam and giving it a beautiful, wet-paint-like sheen. It’s now ready to be poured into your espresso for a delicious latte or cappuccino.
|
Our Picks for the Best Coffee Maker in 2026
As an Amazon Associate, we earn from qualifying purchases.
|
||
| Num | Product | Action |
|---|---|---|
| 1 | Keurig K-Express Single Serve K-Cup Pod Coffee Maker, 3 Brew Sizes, Strong Button Feature, 42oz Removable Reservoir, Black |

|
| 2 | BLACK+DECKER 12-Cup Digital Coffee Maker, Programmable, Washable Basket Filter, Sneak-A-Cup, Auto Brew, Water Window, Keep Hot Plate, Black |
|
| 3 | Mini Hot and Iced Coffee Maker Single Serve, for K Cup and Ground, 6 to 14 Oz Brew Sizes, with Recipe Book, for Home, Travel, RV, Office and Dorm, Classic Black (2.0 Version) |
|
| 4 | Nespresso Vertuo Pop+ Coffee and Espresso Maker by De\'Longhi, Samra Origins by The Weeknd Vertuo Buna Yellow Aeroccino3 milk frother |
|
| 5 | Mr. Coffee Black Coffee Maker, 12 Cups, with Auto Pause and Glass Carafe, Perfect for Home and Office Use |
|
| 6 | BLACK+DECKER 12-Cup Coffee Maker with Easy On/Off Switch, Easy Pour, Non-Drip Carafe with Removable Filter Basket, Vortex Technology, Black |
|
| 7 | Amazon Basics Coffee Makers, 12-Cup Coffee Machines with Reusable Filter, Coffee Pots, Black & Stainless Steel |
|
| 8 | BLACK+DECKER 12-Cup Digital Coffee Maker, Programmable, Washable Basket Filter, Sneak-A-Cup, Auto Brew, Water Window, Keep Hot Plate, Black |
|
| 9 | Keurig K-Duo Hot & Iced Single Serve & Carafe Coffee Maker, MultiStream Technology, 72oz Reservoir (Gen 2) |
|
| 10 | BLACK+DECKER 12-Cup Coffee Maker with Easy On/Off Switch, Easy Pour, Non-Drip Carafe with Removable Filter Basket, Vortex Technology, Black |
|
Common Frothing Mistakes and How to Fix Them
Don’t be discouraged if your first few attempts aren’t perfect. We’ve all been there! Here are the most common pitfalls and their solutions.
Problem: “I have huge, soapy bubbles, not creamy foam.”
- Cause: You kept the steam wand too close to the surface for too long, or it was positioned right at the edge of the pitcher. You’ve incorporated way too much air.
- Solution: During the stretching phase, keep the hissing sound brief and gentle. Submerge the wand sooner to focus on creating that silky whirlpool.
Problem: “My milk is hot, but there’s no foam.”
- Cause: You submerged the wand too deep, too soon. You heated the milk without adding any air to it.
- Solution: Make sure the tip of the wand is just below the surface at the beginning. Listen for that “tsss-tsss” sound of air being incorporated before you move into the texturing phase.
As seasoned barista Isabella Rossi often tells her trainees, “Your ears are as important as your hands when frothing. Listen to the milk. It will tell you if it’s happy. A gentle hiss means volume, a quiet rumble means silkiness. A loud scream means you should stop and try again.”
Frequently Asked Questions (FAQ)
What is the best non-dairy milk for frothing?
Oat milk, specifically a “barista blend,” is widely considered the best non-dairy alternative. It steams in a way that is remarkably similar to whole milk, creating a stable, creamy microfoam that is excellent for latte art and has a neutral, complementary flavor.
Why is my milk not frothing at all?
There are a few potential culprits. Your milk might not be cold enough, giving you no time to add air. You could be using old milk, as fresher milk tends to froth better. Finally, your steam wand might be clogged—ensure it is always wiped and purged after every use.
Can I froth milk without a steam wand?
Yes, but you won’t be using your coffee maker. You can use a French press (by plunging up and down rapidly), a battery-powered handheld frother, or a standalone electric frother. These methods create foam, but the texture is often bubblier and less integrated than true steam-wand microfoam.
How hot should frothed milk be?
The ideal temperature for frothed milk is between 140-150°F (60-65°C). This is the sweet spot where the milk is hot enough for a pleasant drink, its natural sweetness is enhanced, and the texture is perfectly silky. Going hotter will scald the milk.
Do I really need a stainless steel pitcher?
While you can technically froth in any heat-proof container, a stainless steel pitcher is highly recommended. The metal conducts heat efficiently, allowing you to use your hand as a guide for temperature, which is crucial for consistency and avoiding scalded milk.
Your Journey to Frothing Mastery
Mastering how to froth milk with a coffee maker is a journey, not a destination. It’s a skill that combines a little science with a lot of feel. The key is practice. Don’t be afraid to use a drop of dish soap in some water to practice the technique without wasting milk. Pay attention to the sounds, watch the texture change, and feel the temperature.
Soon enough, the process will become second nature. That morning ritual of crafting your own perfect, velvety latte will be one of the best parts of your day, all thanks to the incredible power of that little steam wand on your coffee maker. Now, go grab your pitcher—your perfect coffee awaits.